Introduction
Description: This article gives access to a step-by-step guide on how to Scan All Systems utilizing the Innova SDS50: Smart Diagnostic System (SDS) Tech.
Benefits: As the automotive industry continues to expand, the utilization and quantity of control modules are increasing. Consequently, identifying and fixing malfunctions in their functioning, encompassing mechanical and electrical problems, is becoming more challenging. To tackle this issue, a Scan Tool is essential to establish communication with our vehicles and retrieve their Diagnostic Trouble Codes (DTCs). This becomes particularly important when the Malfunction Indicator Lamp (MIL) on the dashboard is illuminated.
Instructions
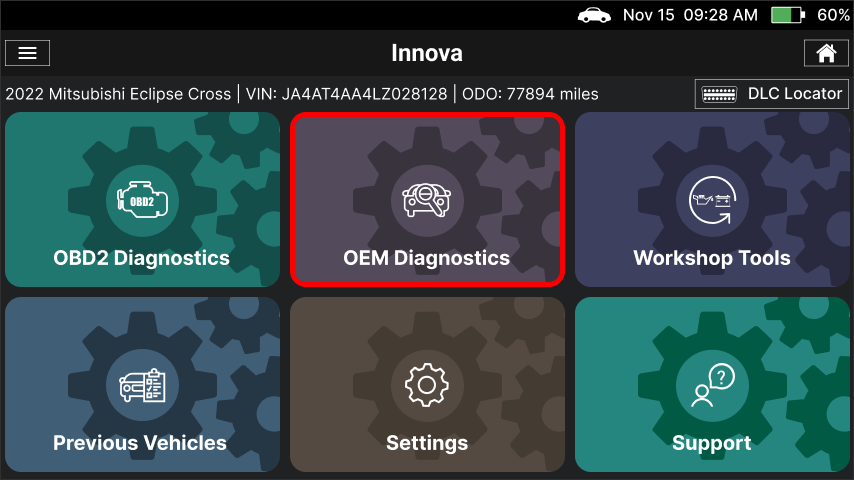
Step 1: Connect the Innova SDS50 to the vehicle via the 16-pin Data Link Connector (DLC). Wait a moment for the AUTO-LINK process to be completed. After retrieving, the Innova SDS50 gets general information such as VIN, vehicle information, and odometer. Next, select the OEM Diagnostics section.
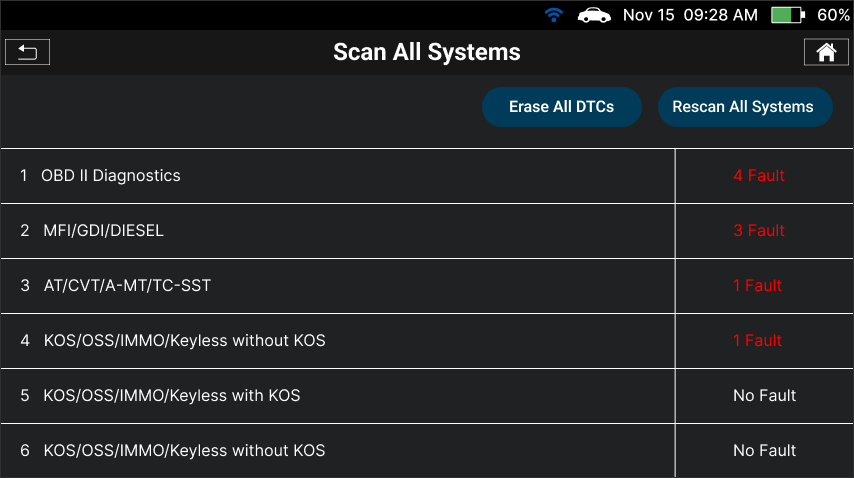
Step 2: Based on the vehicle information, the Innova SDS50 shows you the list of systems supported in this vehicle. Next, find and select the Scan All Systems button. After retrieving data from the vehicle, the Innova SDS50 shows a list of systems with the health status.
NOTE: The system name might be different from vehicle to vehicle.
NOTE: The systems with faulty codes will appear first, while systems without fault codes or that do not respond will be displayed last.
Step 3: Select the desired system to check the DTCs.
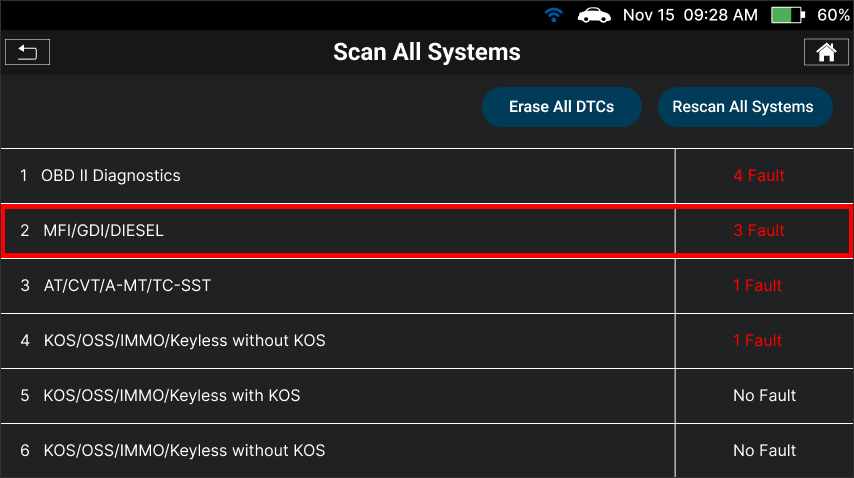
On the scanning results screen, tap a specific module for more detailed information in regard to system faults, including DTCs status and definition.
There are three types of DTC status: Active, Pending, and History, which indicate the status of the malfunction and are used to prioritize repairs.
- Active DTCs indicate a current problem.
- Pending DTCs indicate a potential problem that has not yet reached a level of certainty.
- History DTCs indicate a problem that has already been resolved.
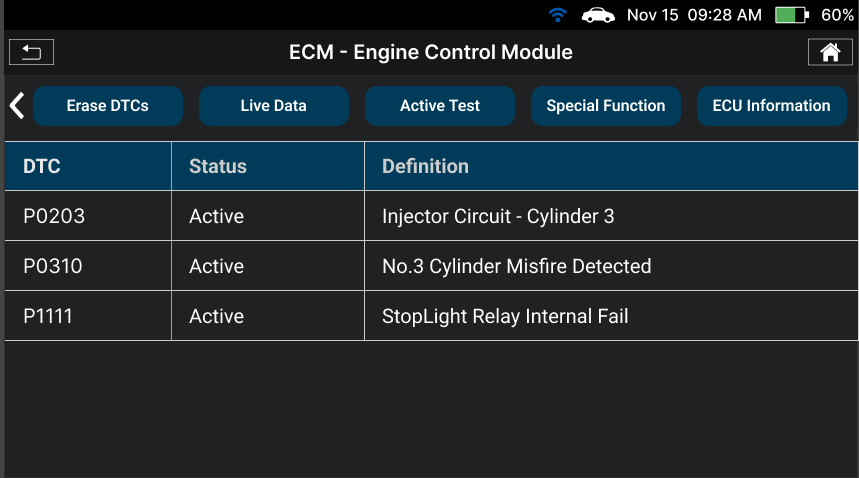
While diagnosing and fixing a problem, it's important to start with Active DTCs and then move to Pending and History DTCs as necessary.
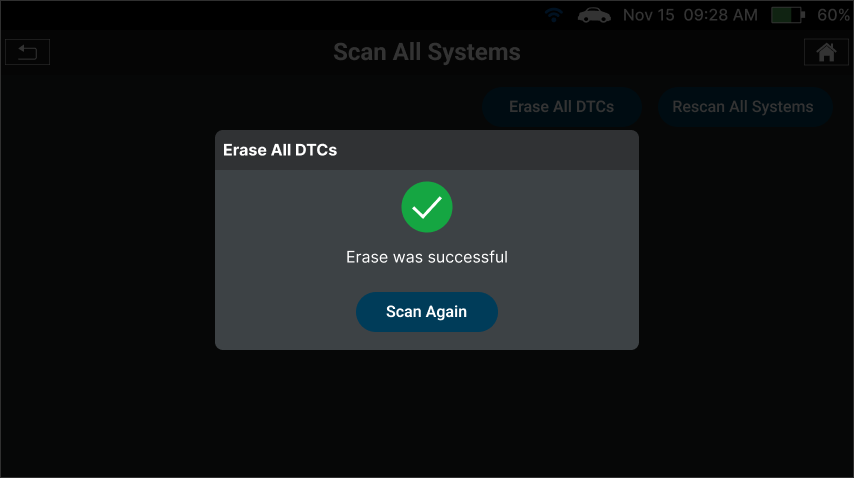
Step 4: Once you have resolved all the DTCs of the vehicle, tap the Erase All DTCs button to erase the codes and turn OFF the MIL or warning light illuminated on the dashboard.
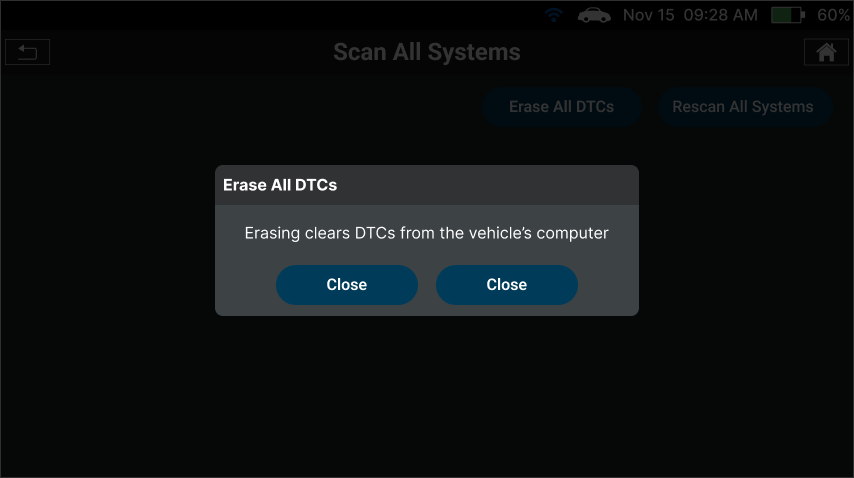
The Scan Tool will automatically perform the clearing process. Afterward, all systems must be appropriately scanned again to confirm that there are no DTCs present in the vehicle.