Introduction
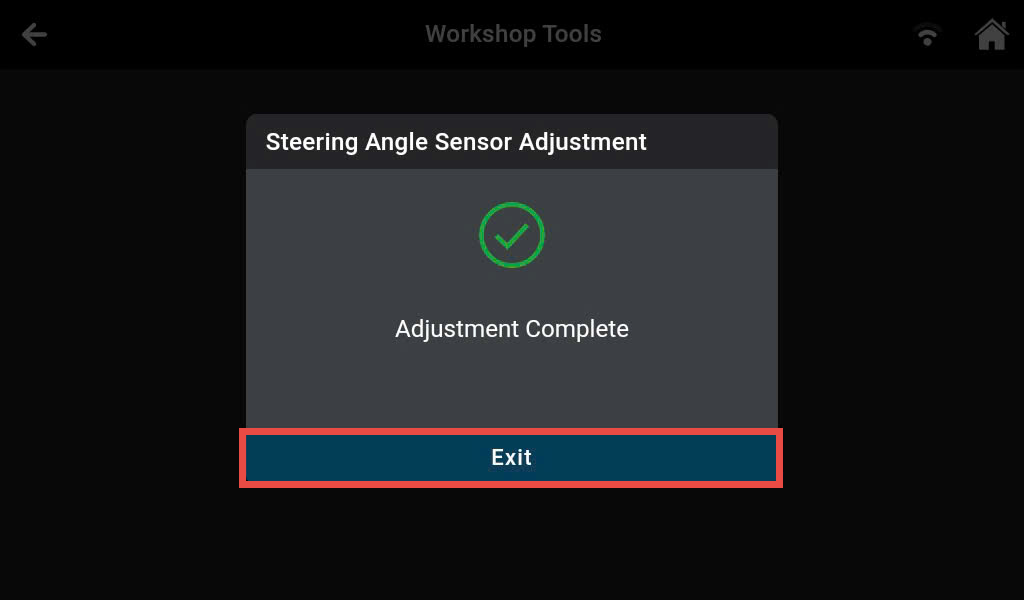
Description: This article provides instructions to perform Steering Angle Sensor (SAS) calibration using the Innova 7111 Smart Diagnostic System (SDS) tablet scan tool.
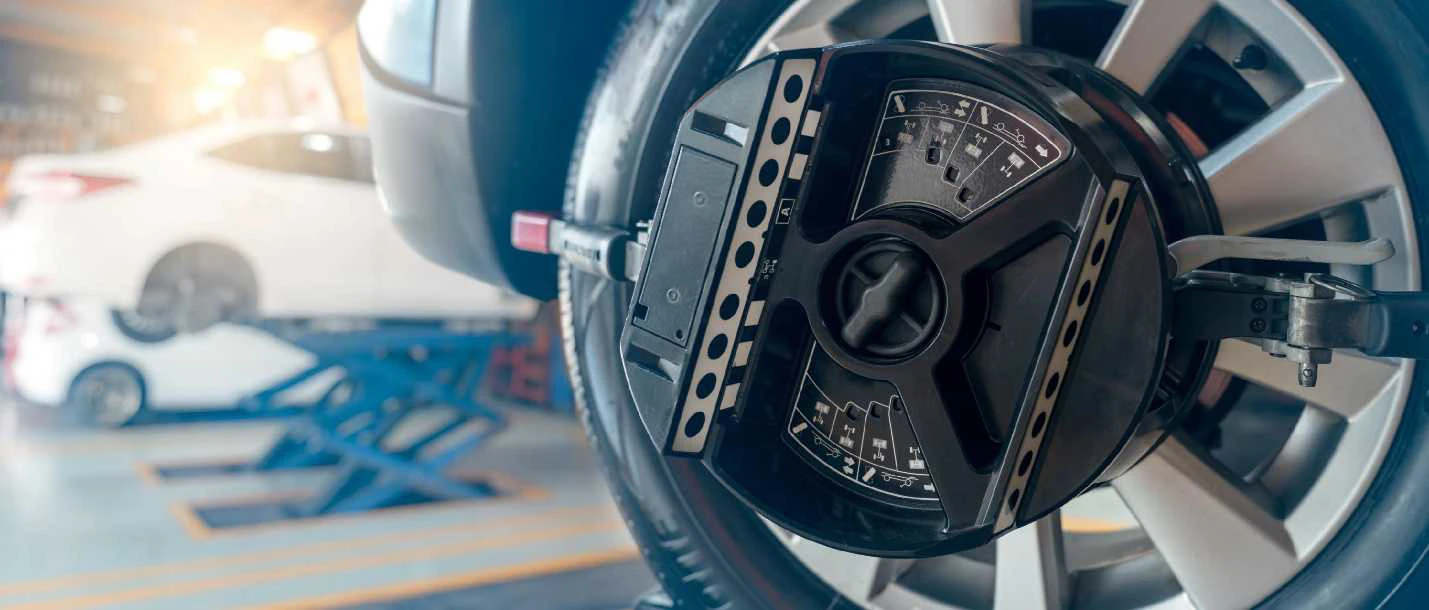
Benefits: Steering Angle Sensor calibration is necessary following wheel alignment, collision repairs, or replacement of components that can alter the toe and thrust angle, as these conditions can affect the accuracy of the sensor.
Calibration of the Steering Angle Sensor ensures that related systems receive an accurate indication of steering wheel position and movement to enable them to make necessary corrections. Failure to calibrate the steering angle sensor may result in improper operation of the Vehicle Stability Control System and may ultimately result in the deactivation of the system.
Instructions
NOTE: This procedure is carried out on the 2013 Nissan Altima.
NOTE: Most manufacturers recommend performing Steering Angle Sensor calibration with the vehicle on a level ground surface rather than on a lift.
Step 1: Connect the Innova 7111 to the vehicle via the 16-pin Data Link Connector (DLC). Wait a moment for the AUTO-LINK process to be completed.
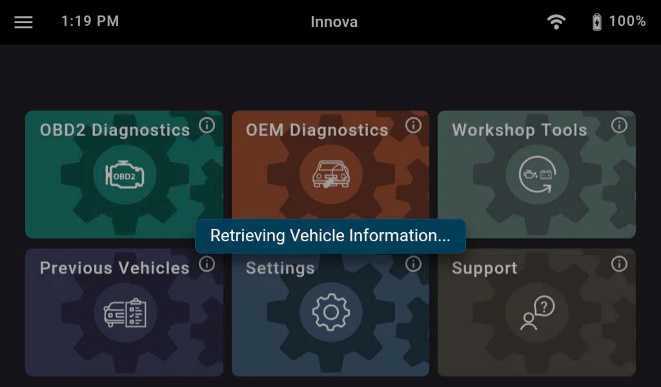
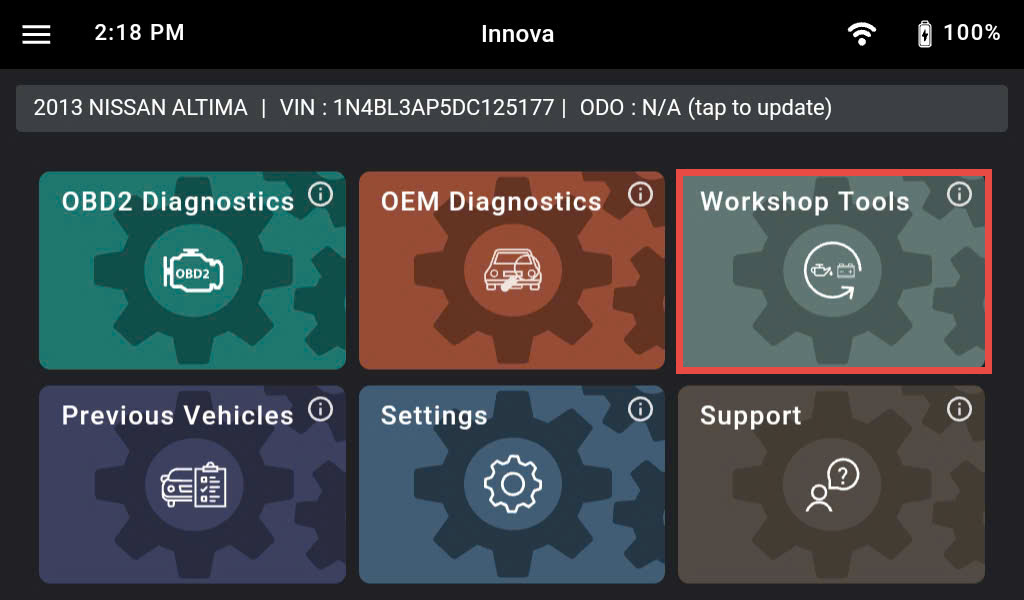
After retrieving, the Innova 7111 gets general information such as VIN, vehicle information, and odometer. Next, select the Workshop Tools section.
Step 2: There are 36 Workshop Tools features supported on the Innova 7111 shown and categorized. Scroll down to the Calibrations section and select the Steering Angle Sensor Calibration feature.
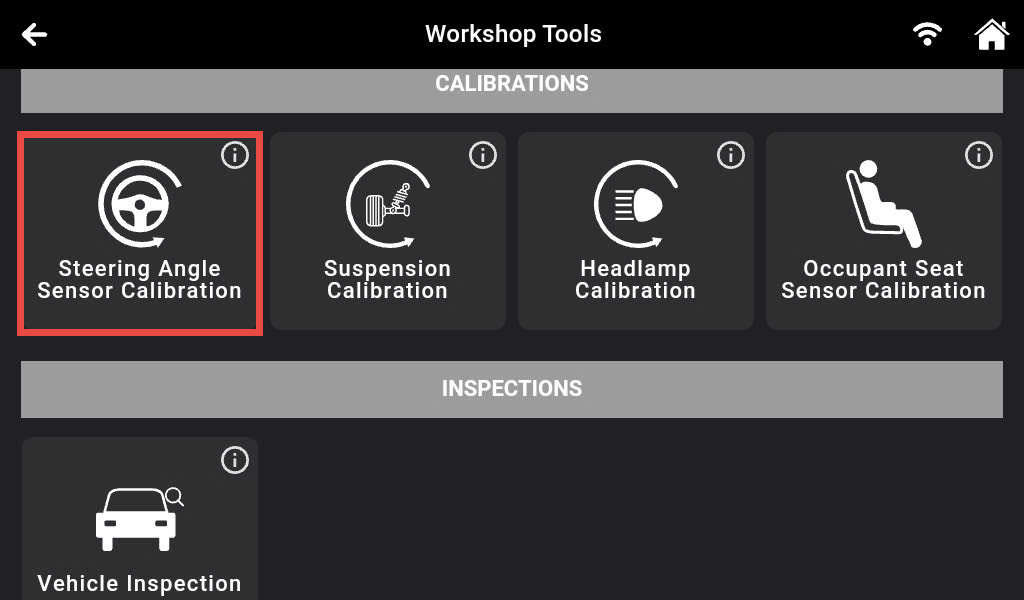
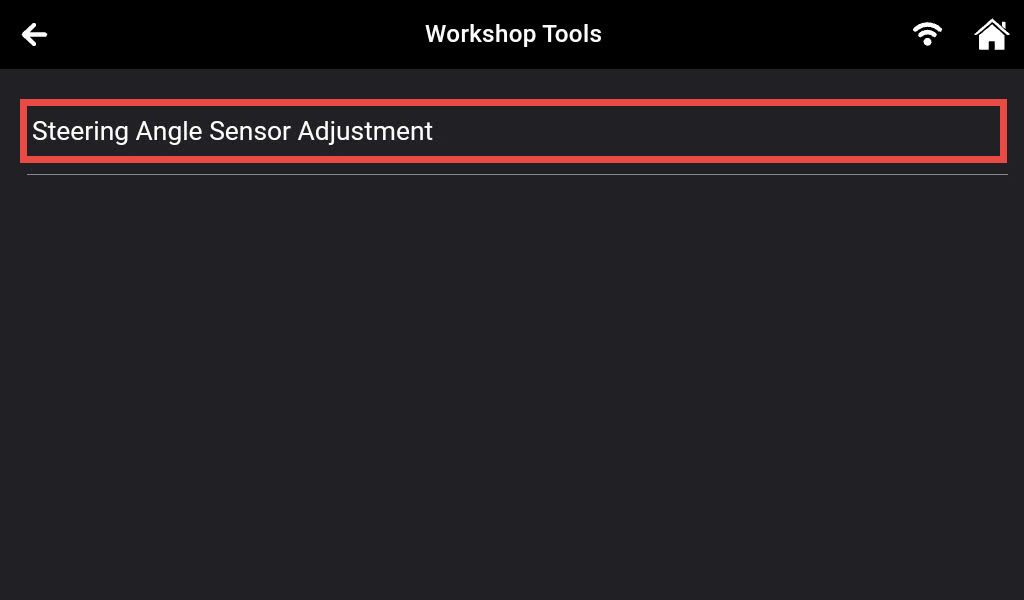
Step 3: Select the Steering Angle Sensor Adjustment feature to begin the calibration procedure.
NOTE: The system name SAS Calibration feature might be different from vehicle to vehicle.
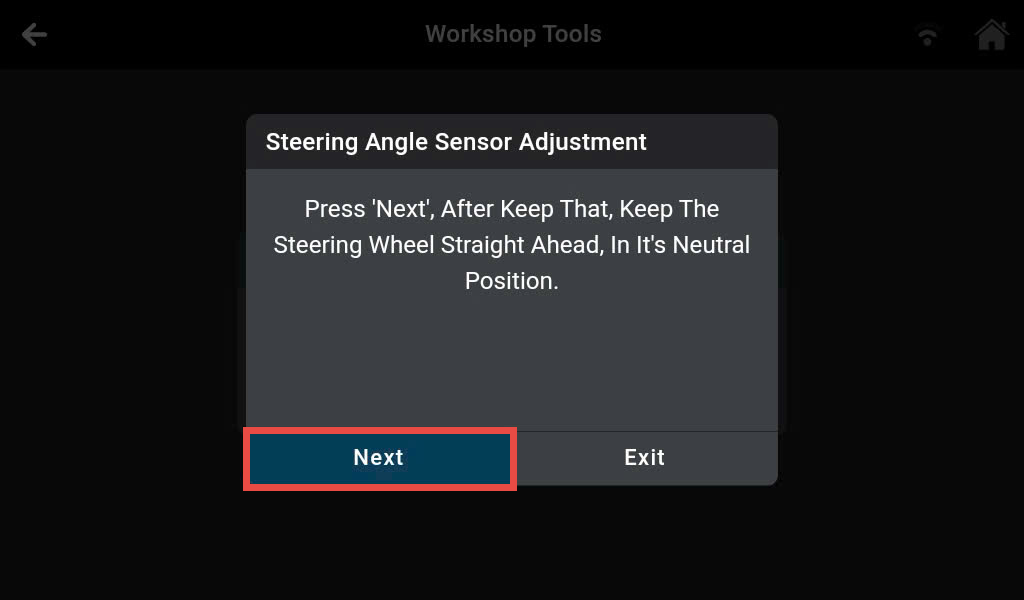
Step 4: The Innova 7111 starts to communicate with the vehicle and shows the conditions required before performing the function. Ensure the vehicle’s condition matches the conditions shown on the tablet scan tool and press the Next button to go to the next step.
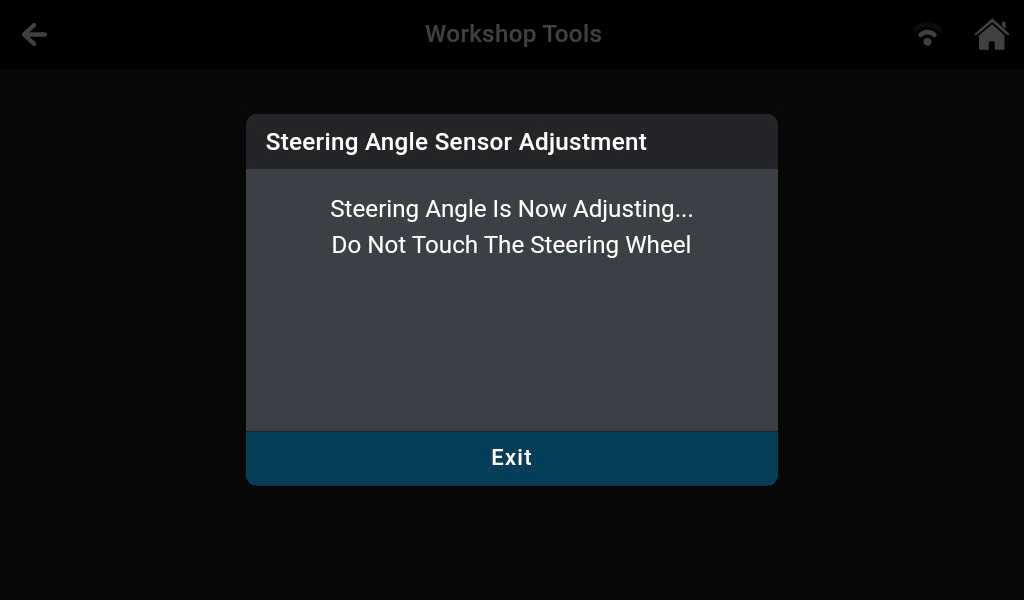
Step 5: The Innova 7111 automatically communicates with the vehicle and starts to perform the SAS calibration process.
Step 6: After communicating between ECM and vehicle, the Innova 7111 shows the result on the screen. Press the Exit button to finish the function.