Introduction
Description: To guide users on how to use the Active Test while using the Innova 7111 Smart Diagnostic System (SDS) tablet scan tool.
Benefits: The Active Test function lets you perform bi-directional tests for various vehicle actuators and systems to aid in troubleshooting and diagnosis.
The Active Test emerges as a powerful tool for technicians to manually oversee and evaluate diverse actuators within a vehicle’s system. Actuators serve as pivotal components in executing precise actions such as valve and relay operations, motor activation, or solenoid engagement. Through the Active Test function, technicians can scrutinize actuator’s performance, thereby helping identify and resolve system malfunctions. The Innova 7111 supports the Active Test function for the most popular vehicle systems by five main manufacturers - Ford, Chrysler, GM, Honda, and Toyota. It also supports the Active Test of Powertrain Control Module (PCM)/Engine Control Module (ECM) for all other manufacturers.
Instructions
Note: This procedure is carried out on the 2023 Chevrolet Corvette.
Step 1: Connect the Innova 7111 to the vehicle via the 16-pin Data Link Connector (DLC). Wait a moment for the AUTO-LINK process to be completed.
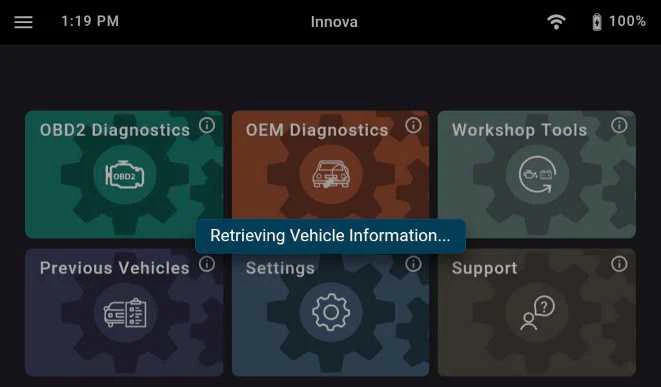
After retrieving, the Innova 7111 gets general information such as VIN, vehicle information, and odometer. Next, select the OEM Diagnostics section.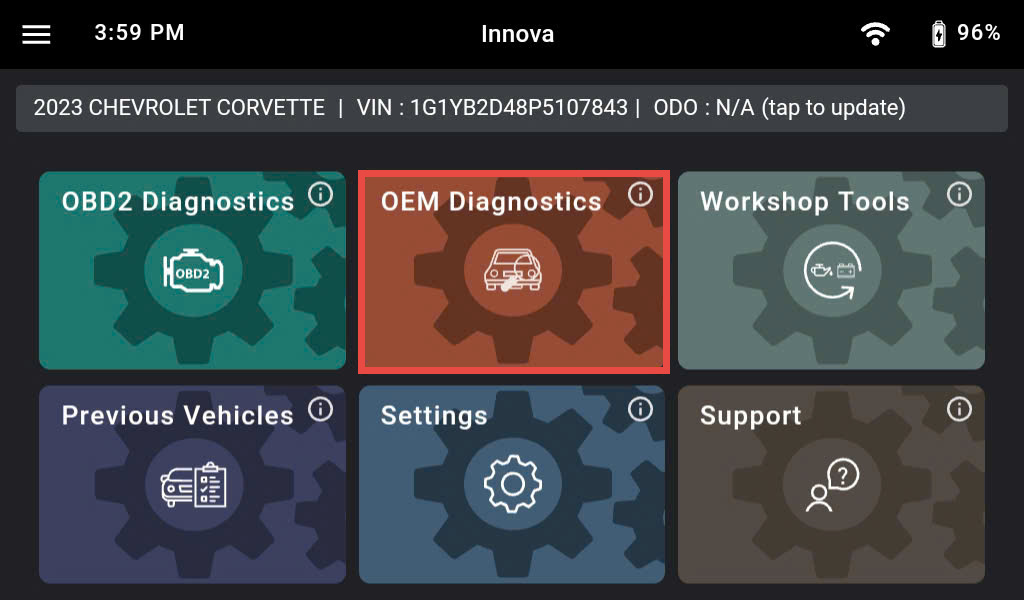
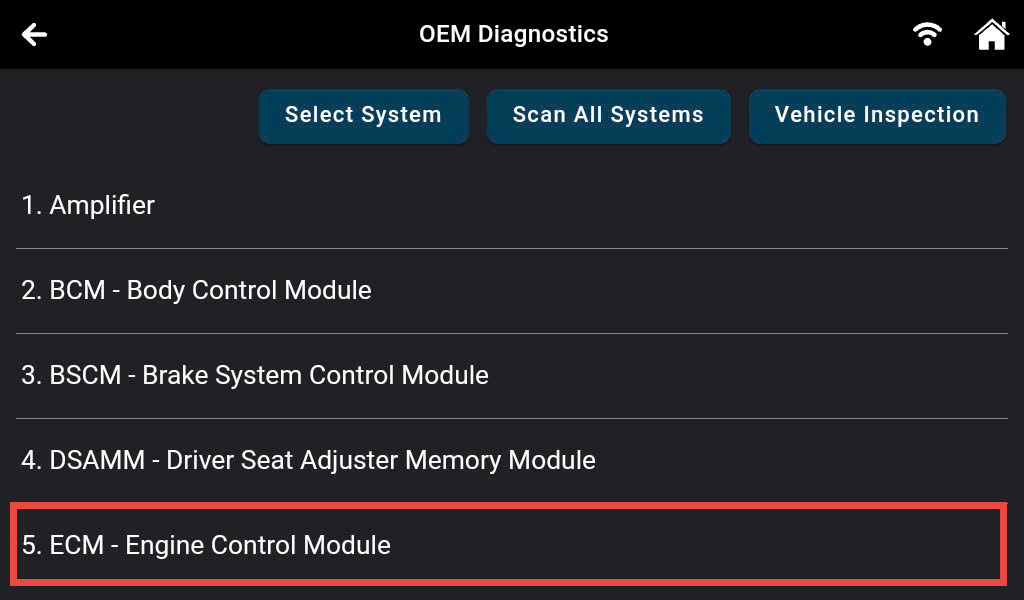
Step 2: Based on the vehicle information, the Innova 7111 shows you the list of systems supported in this vehicle. Next, find and select the ECM – Engine Control Module system.
Note: The system name ECM – Engine Control Module might be different from vehicle to vehicle.
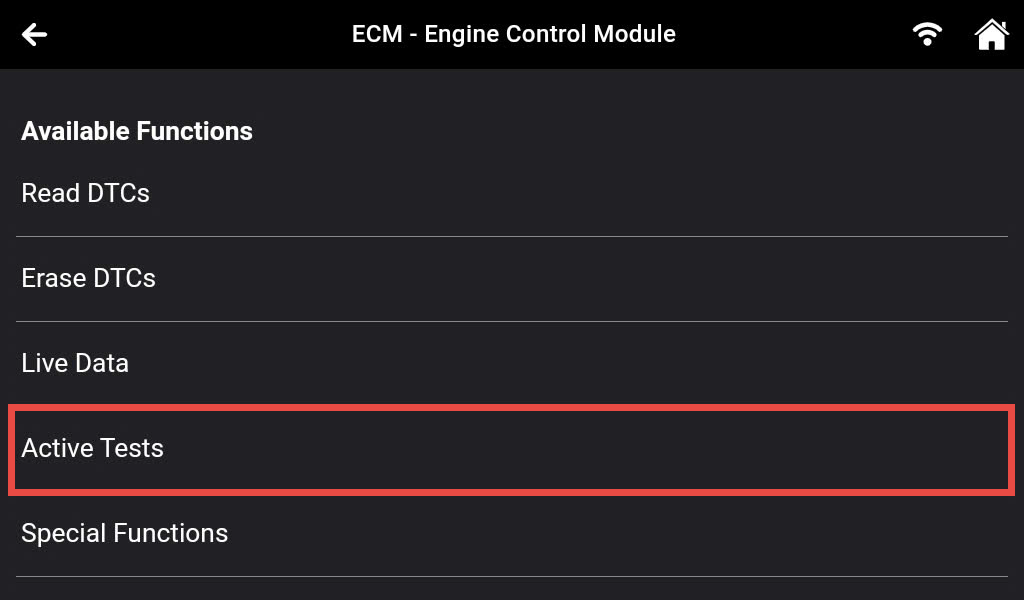
Step 3: After linking to the ECM, the Innova 7111 shows a list of Diagnostic functions: Read DTCs, Erase DTCs, Live Data, Active Tests, Special Functions, and ECU Information. Select the Active Tests feature to go to the next step.
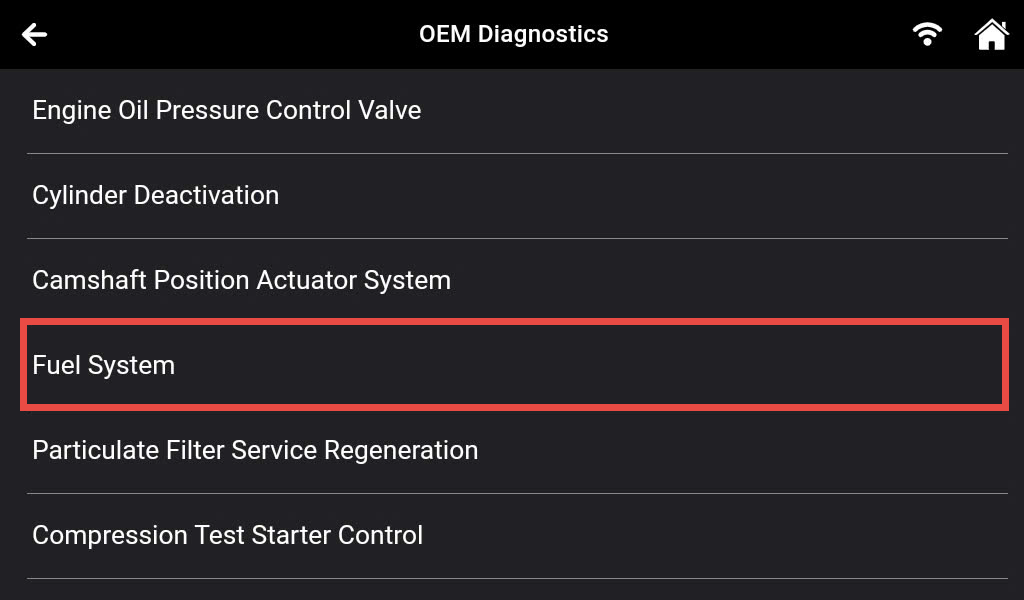
Step 4: In the Active Test function, the Innova 7111 shows you the list of functions which supported. Next, select the desired functions to perform. In this example, here is the Fuel System function. After that, select the Fuel Rail Pressure feature.
Note: The list of functions differs from vehicle to vehicle.
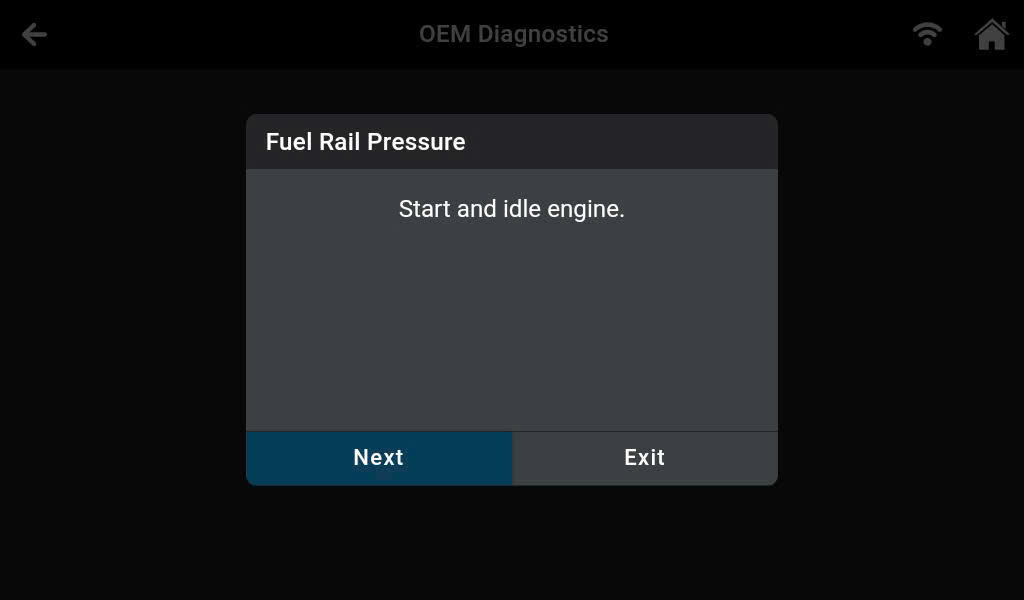
Step 5: The Innova 7111 starts to communicate with the vehicle and shows the conditions required before performing the function. Ensure the vehicle’s condition matches the conditions shown on the Innova 7111 and press the Next button to go to the next step.
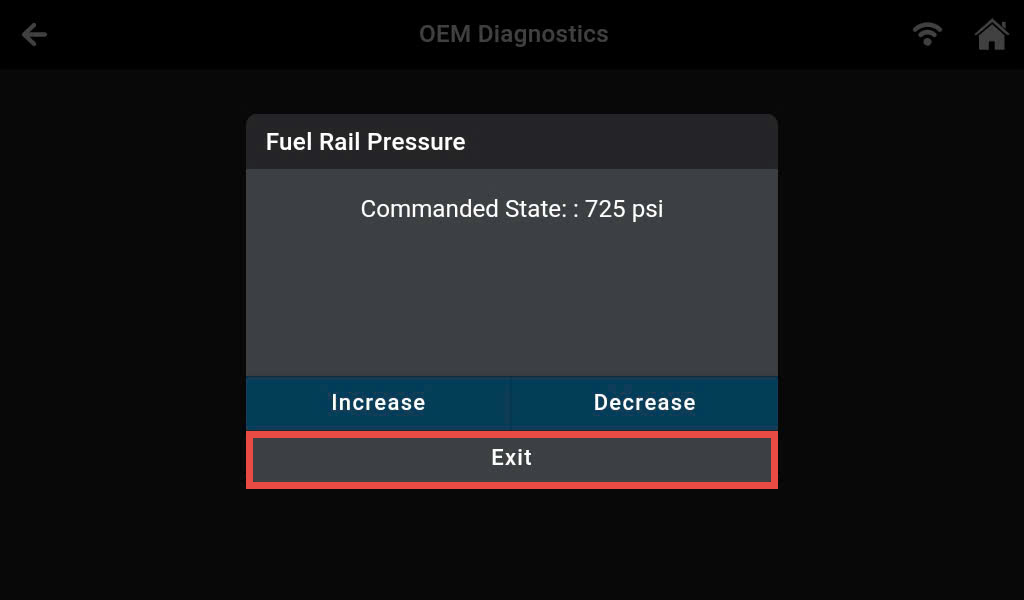
Step 6: Perform the function by selecting the Increase or Decrease button.
Each function may have a different testing type, such as ON/OFF, Increase/Decrease, Active/Inactive, Enable/Disable, etc. Depending on the selected function, you can select the appropriate buttons.

Step 7: Evaluate the process and then select the Exit button to end the procedure.