Introduction
Description: This article helps you to demonstrate monitoring, graphing, recording, and playback of Powertrain Live Data while using the Innova 7111 Smart Diagnostic System (SDS) tablet scan tool.
Benefits: The Innova 7111 lets you view and/or record real-time Live Data. This information includes values (voltage, RPM, temperature, speed, etc.) and system status information (open loop, closed loop, fuel system status, etc.). These are the signals used by the vehicle's computer to calculate and make system adjustments and corrections. The real-time (Live Data) vehicle operating information (values/status) that the computer supplies to the scan tool for each sensor, actuator, switch, etc. is called Parameter Identification Data (PID). Each PID has a set of operating characteristics and features (parameters) that serve to identify it. The Innova 7111 displays this information for each sensor, actuator, switch, or status that is supported by the vehicle under test. Moreover, you can customize and graph the number of PIDs that you wish to display on the Innova 7111.
Warning: If the vehicle must be driven to perform a troubleshooting procedure, always have a second person help you. One person should drive the vehicle while the other person observes the Scan Tools data. Trying to drive and operate the Innova 7111 at the same time is dangerous and could cause a serious traffic accident.
Instructions
Note: This procedure is carried out on the 2015 Chevrolet Equinox.
Step 1: Connect the Innova 7111 to the vehicle via the 16-pin Data Link Connector (DLC). Wait a moment for the AUTO-LINK process to be completed.
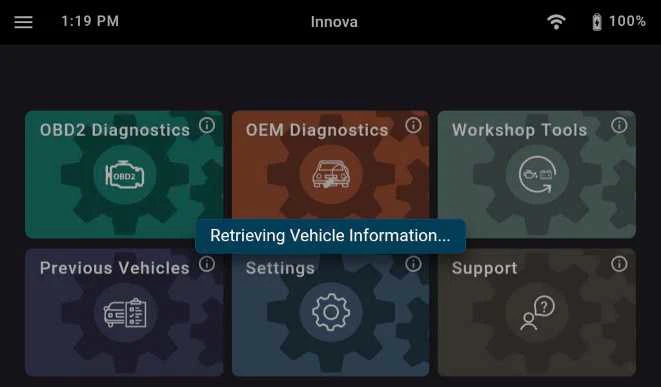
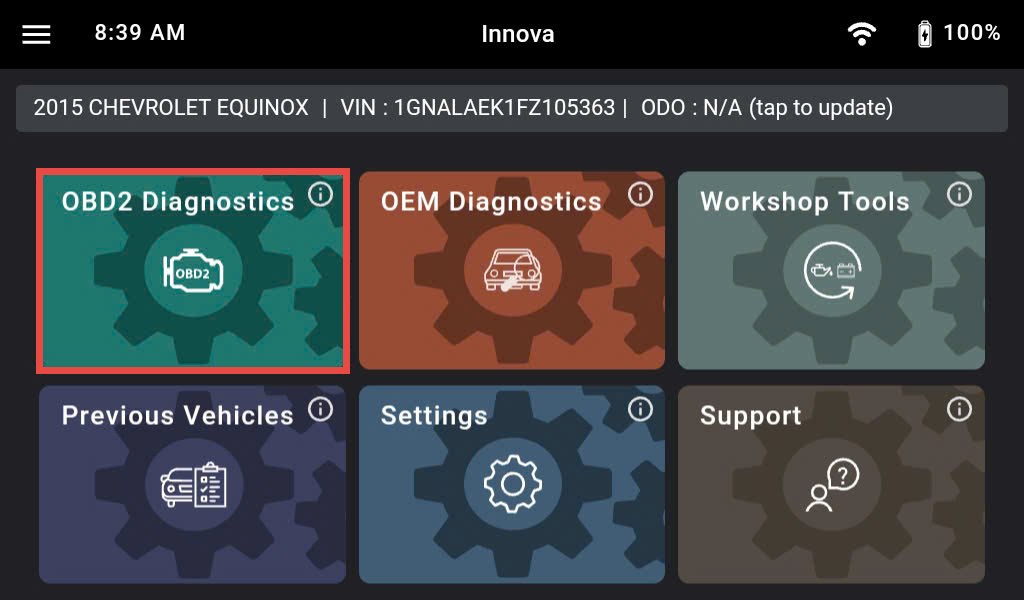
After retrieving, the Innova 7111 gets general information such as VIN, vehicle information, and odometer. Next, select the OBD II Diagnostics section.
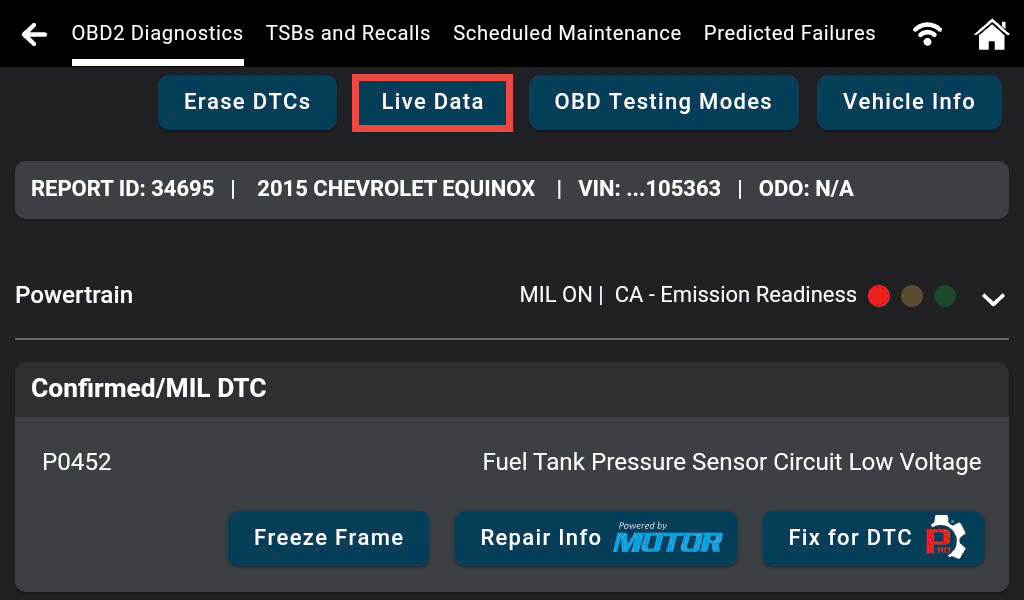
Step 2: The OBD II diagnostics data was retrieved from the vehicle and shown in detail. Tap the Live Data button to view the data.
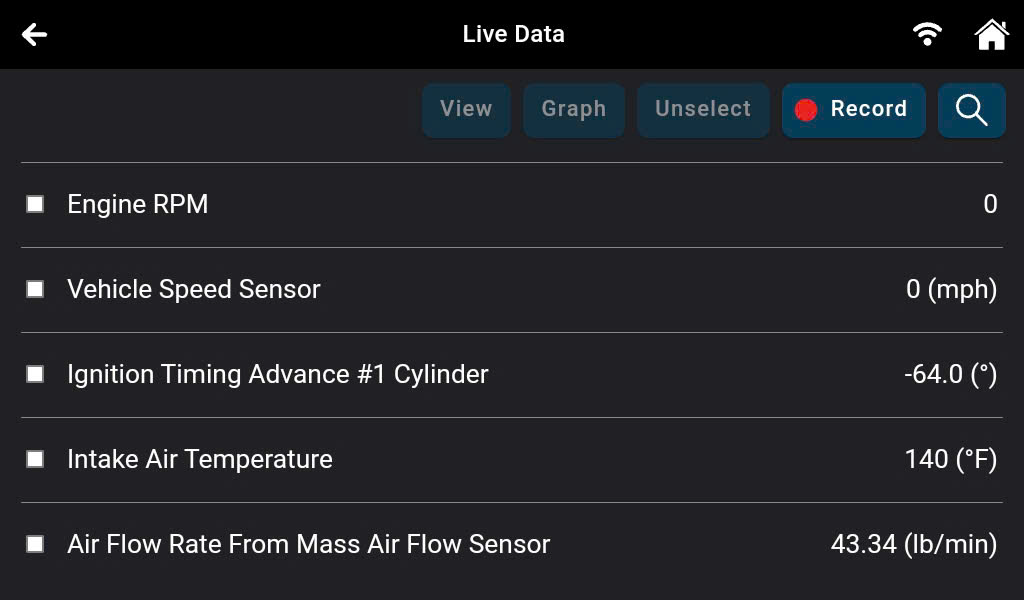
Step 3: The Innova 7111 will show a list of supported parameters.
A Communication Error message will display if the scan tool fails to establish communication with the vehicle. In this scenario, the user needs to check the following items:
- Ensure the vehicle is OBD II-compliant.
- Verify the connection at the DLC, and verify the ignition is ON.
- Turn the ignition OFF, wait 5 seconds, then turn it back ON to reset the computer.
- Tap the Try Again button to try again.
Step 4: To perform the Customizing Live Data function on the Innova 7111, click the box next to each parameter to select the PID you wish to use to customize your report. A checkmark will be shown to confirm your selection. Tap the View button to view the real-time value of the PIDs that you selected. The list of PIDs that you selected will be shown.
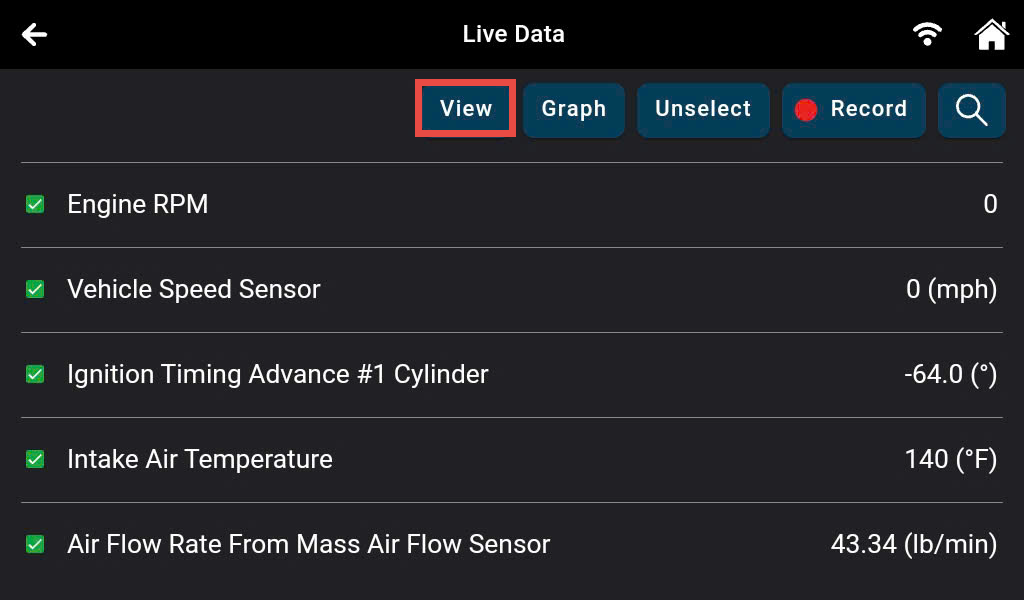
Note: You can search for the parameter by tapping the Search icon.
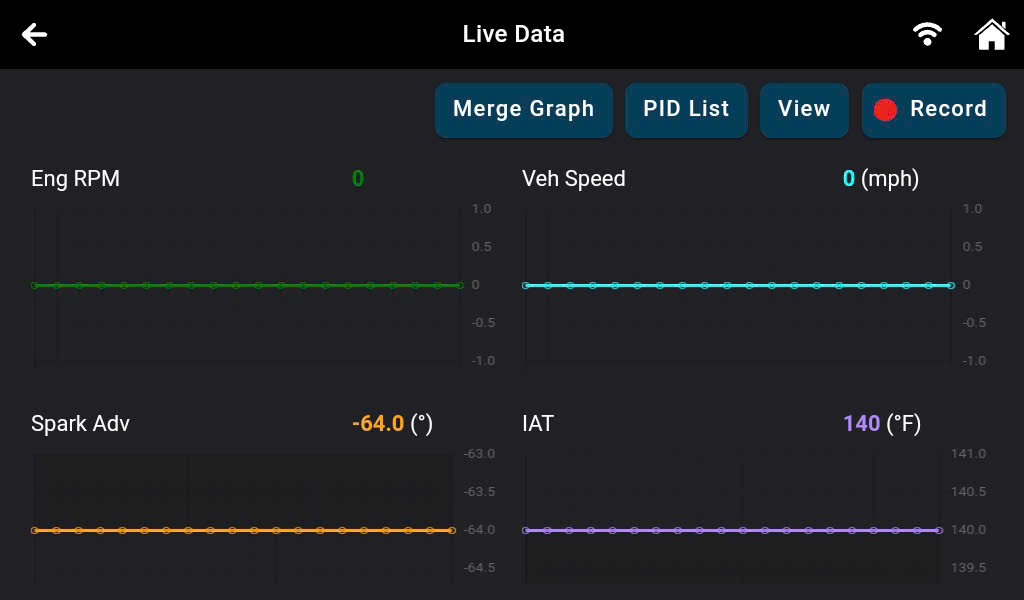
Step 5: Tap the Graph button to display all selected PIDs in graphical form.

Note: The Innova 7111 provides the ability to graph all PIDs with value at one time, which allows you to monitor the changes in PID values more clearly.
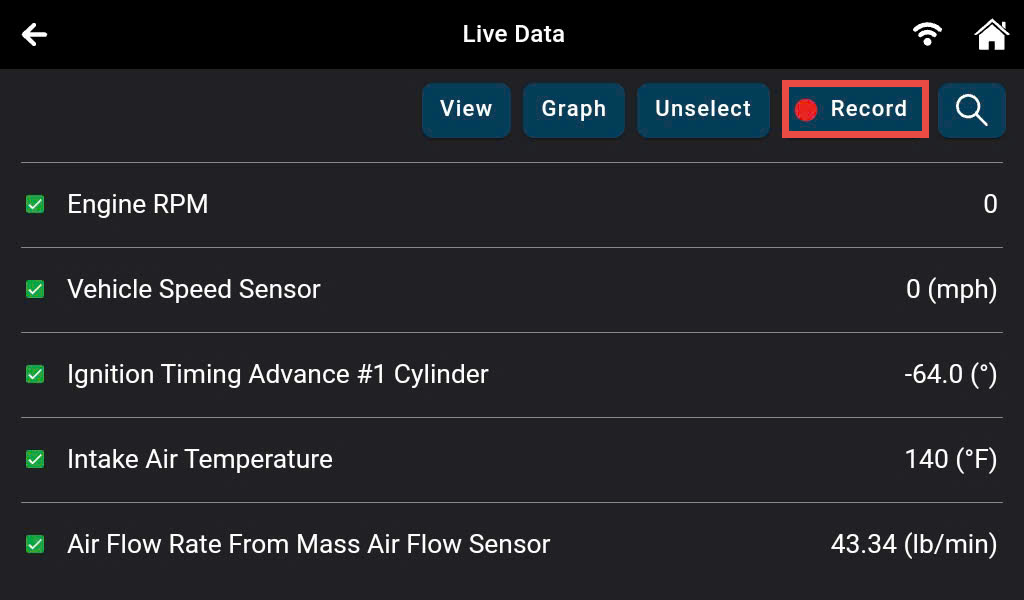
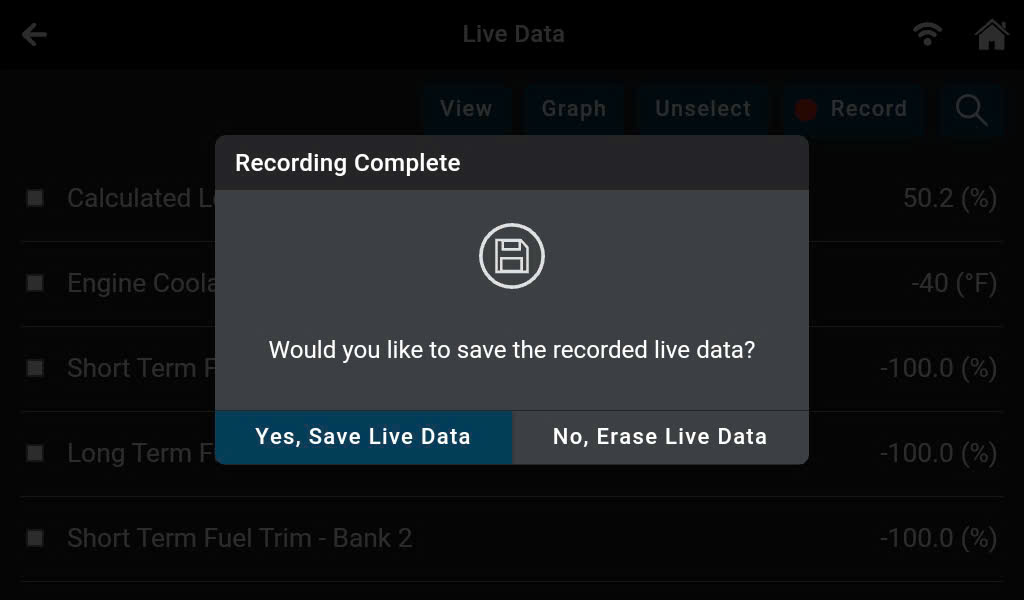
Step 6: Tap the Record button to record the Live Data Stream.
Tap the Stop Record button to finish the record function.
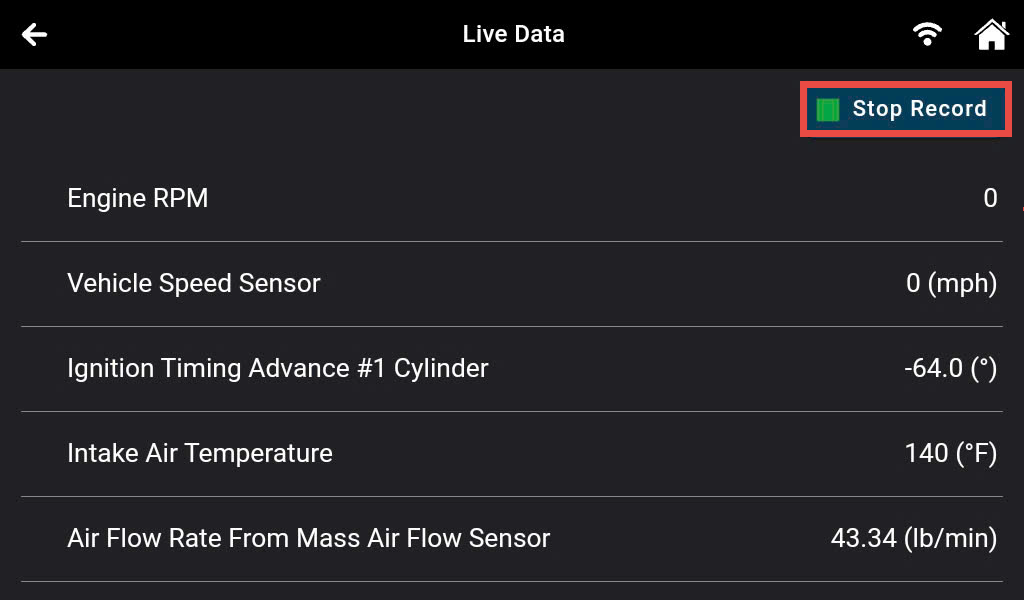
Tap the Yes, Save Live Data button to save the recorded data when you are finished and want to save it. Tap the No, Erase Live Data button to finish the record function when you don't want to save the recorded data.
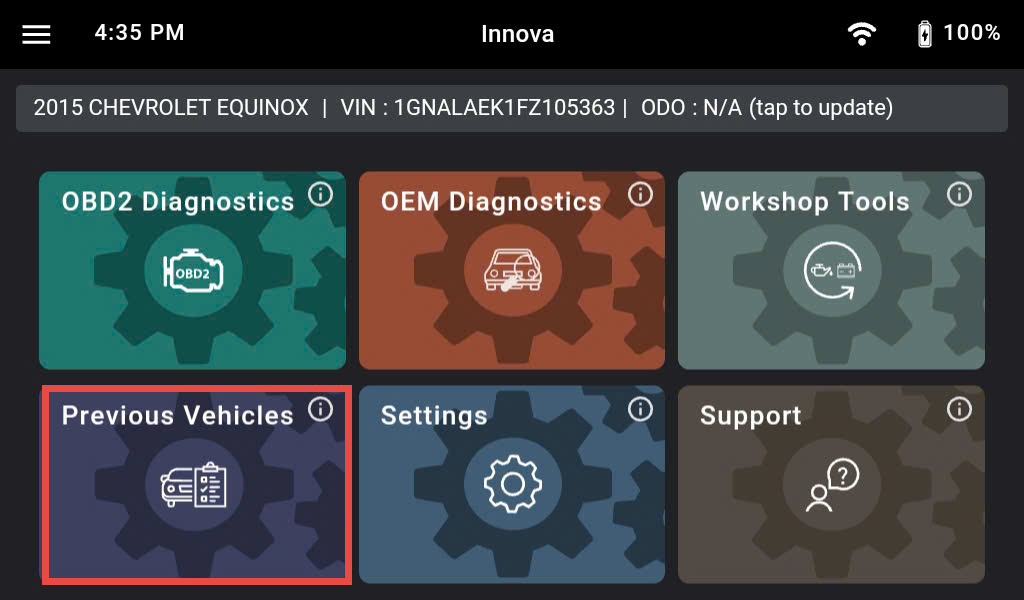
Step 7: Select the Previous Vehicles function.
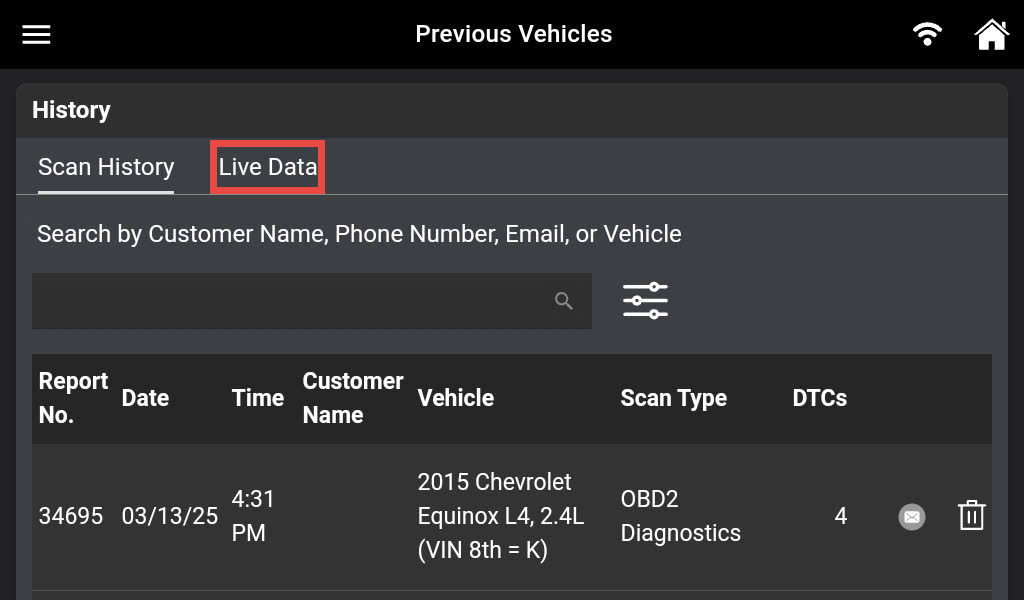
Tap the Live Data button.
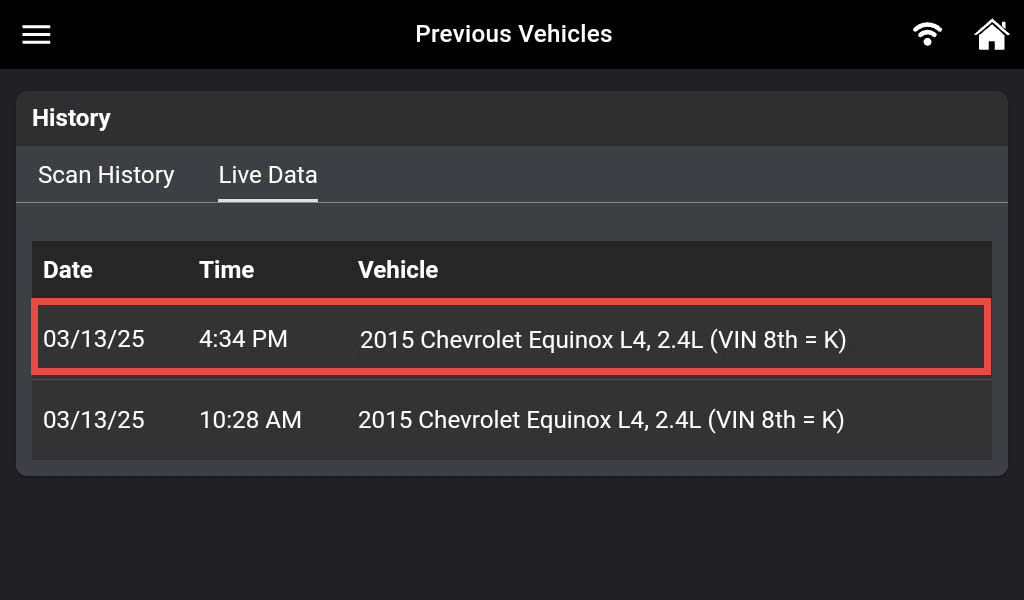
Tap the recorded Live Data based on the date, time, and vehicle information that you want to review.
Tap the Play button to start.
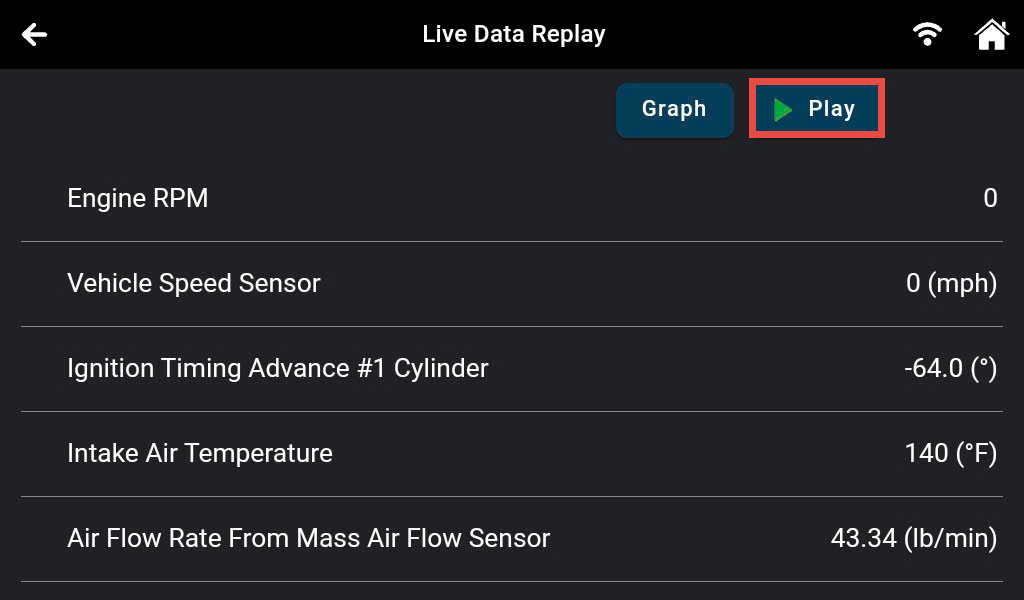
When viewing recorded Live Data, look for any irregularities in any of the PID values/signal information (LTFT %, RPM, MAP, TEMP, etc.). If any PIDs are not within specification or irregularities are detected, follow the procedures in the vehicle's service repair manual to perform additional troubleshooting and repair.